USER GUIDE – Marking Out a Spot Light Grid Using the Leica L2P5 / L2P5G & Leica DISTO X1

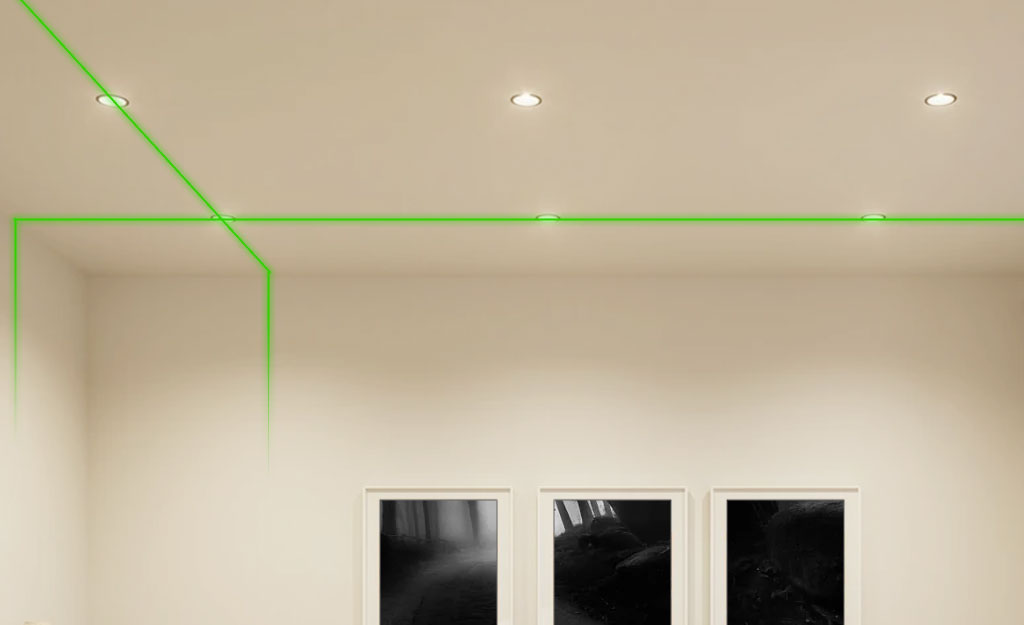
TIPS & TRICKS
Overview
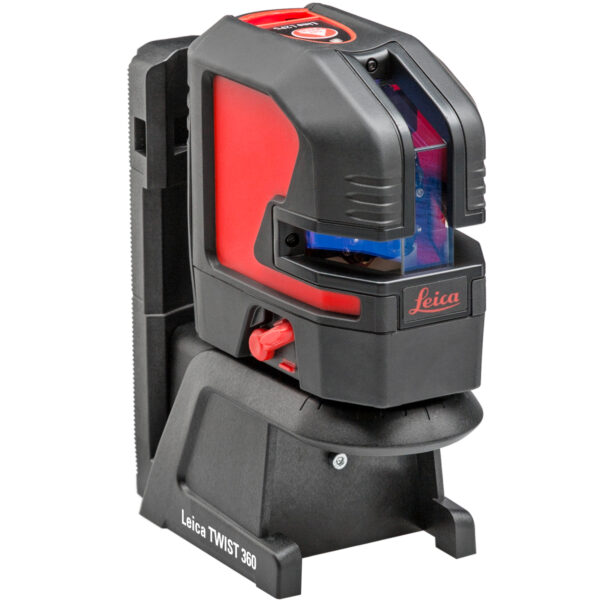
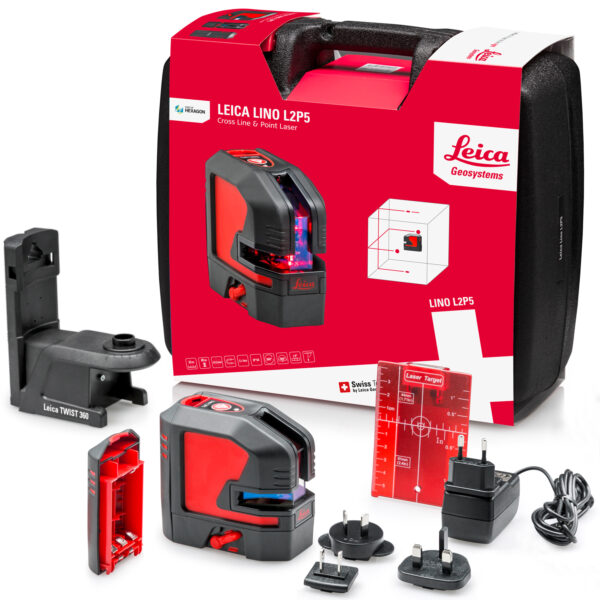
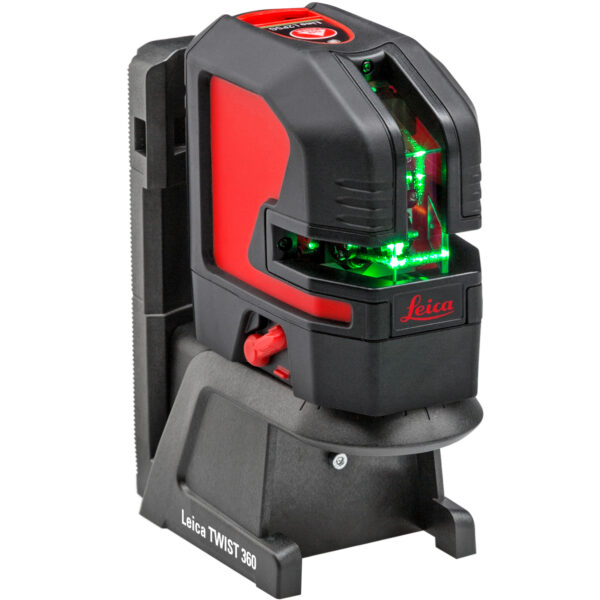
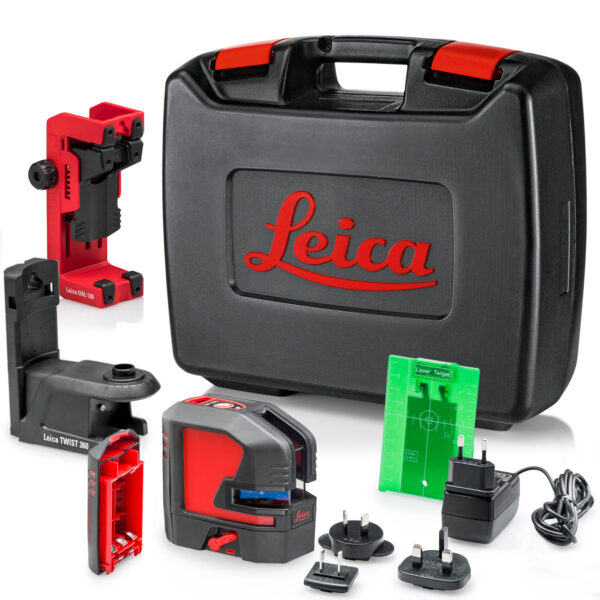
Using a Leica L2P5 or L2P5G Cross Line & Dot Laser together with a Leica DISTO X1 allows you to mark out spot light positions quickly, safely, and with perfect accuracy. The method below avoids working overhead on steps or ladders. Instead, you mark all positions on the floor, then project the points upwards onto the ceiling using the laser’s dot beams.
This approach is faster, safer, and far more accurate than trying to measure and mark directly on the ceiling.
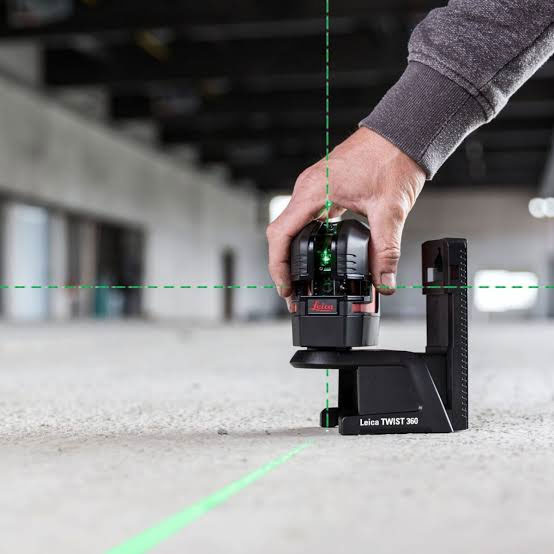
Using the Leica L2P5 / L2P5G and Leica DISTO X1
1. Measure the Room with the Leica DISTO X1
2. Create the Grid Layout on the Floor
3. Position the Leica L2P5 / L2P5G Over Each Mark
- Place the L2P5/L2P5G directly over the first floor mark
- The downward plumb dot shows the exact point on the floor
- The upward plumb dot projects the same point perfectly onto the ceiling
- No climbing, no overhead measuring, no tape sag
4. Project the Light Position to the Ceiling
- Once the laser is centred on the floor mark, look up – the top dot shows the exact drilling point for the spotlight
- Mark the ceiling lightly with pencil
- Move to the next floor mark and repeat
5. Use the Cross Lines for Alignment
- Switch on the cross line mode if you want to check alignment along the room
- The horizontal and vertical lines help ensure rows of lights are perfectly straight
- Ideal for kitchens, hallways, offices, and long corridors
5. Continue Until All Light Positions Are Transferred
- Work methodically through the grid
- Each floor mark becomes a ceiling mark using the plumb dot
- The result is a perfectly spaced, perfectly aligned spotlight layout