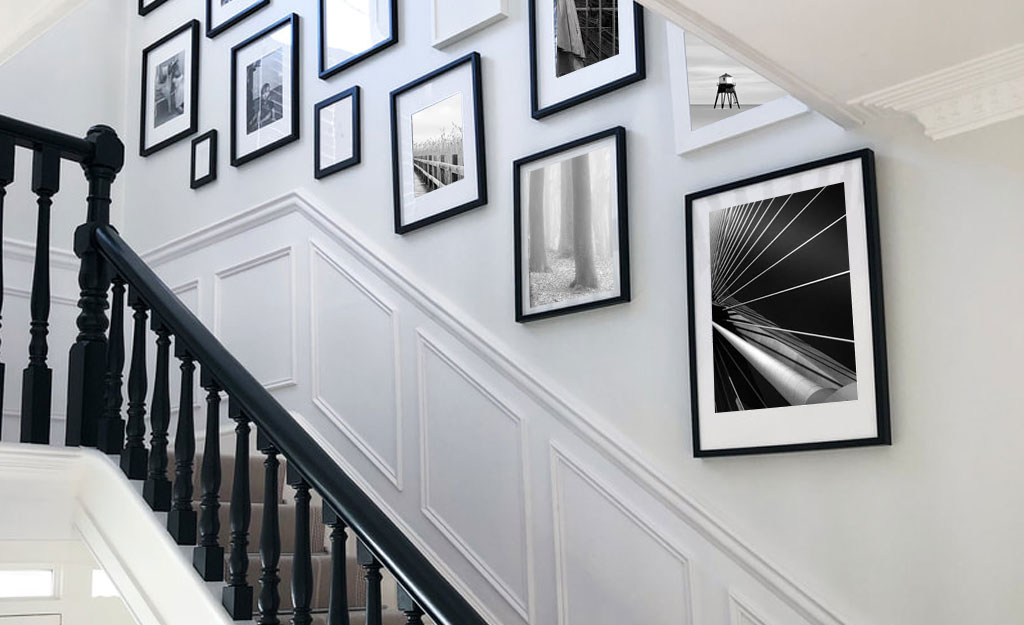
USER GUIDE – How to Guide Installing a 45° Dado Rail Down a Staircase

TIPS & TRICKS
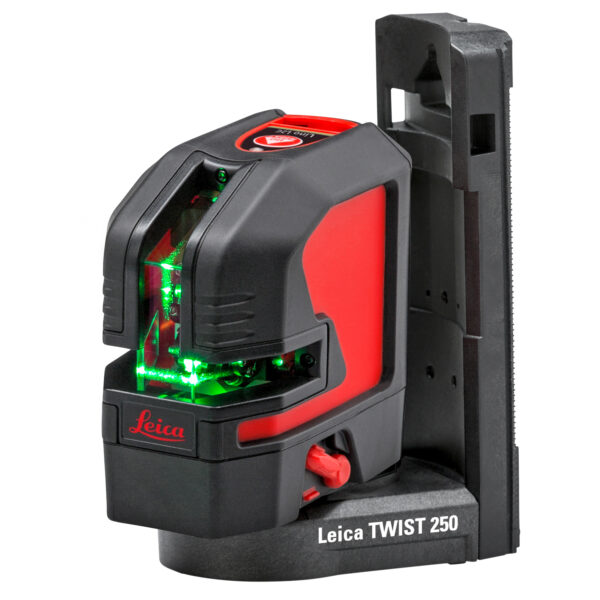
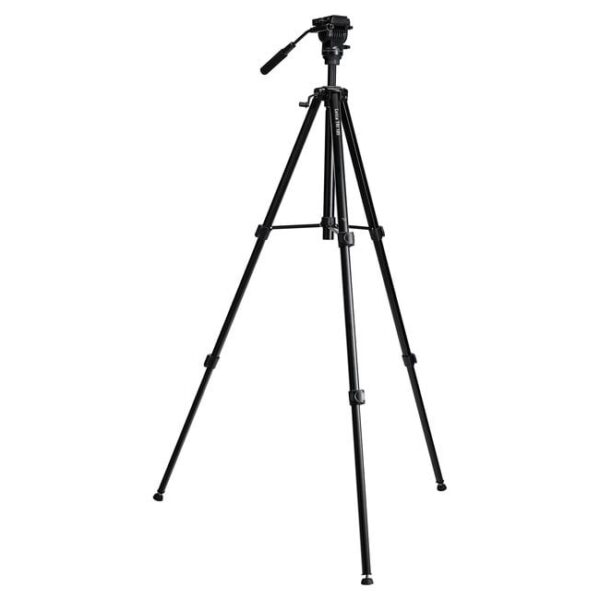
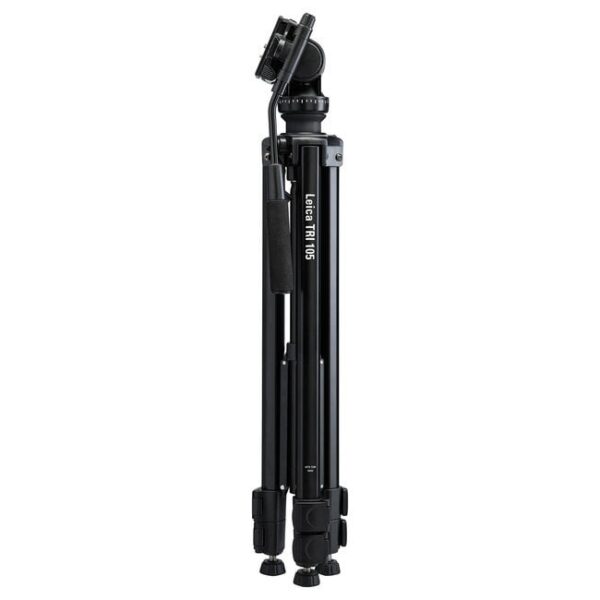
Using a Leica L2G (Green Beam) or L2R (Red Beam) with the TRI105 Tilt‑Head Tripod
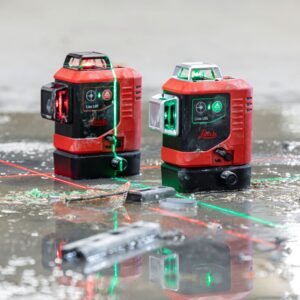
Using a Leica L2G (Green Beam) or Leica L2R (Red Beam) mounted on a TRI105 tripod with angle‑tilt is one of the most accurate ways to set a perfectly straight, consistent angled reference line that matches the true pitch of a staircase.
Both models deliver ±0.2 mm per metre accuracy, ensuring the dado rail flows smoothly from bottom to top with no cumulative error.
1. Set Up the Laser and Tripod
- Position the TRI105 tripod at the bottom or middle of the staircase.
- Mount the Leica L2G (green) or L2R (red) onto the tripod.
- Adjust the tripod height so the laser can project comfortably along the full staircase.
Beam visibility note:
- L2G Green Beam = highest visibility on long stair runs or bright areas.
- L2R Red Beam = same precision, ideal for standard indoor conditions.
2. Lock the Pendulum for Angled Projection
- Slide the pendulum lock to ON (locked position).
- This disables self‑levelling and allows the laser to project a fixed angled line.
- Press the top function button to switch on the beam.
Why this matters:
With the pendulum locked, the L2G/L2R can project a stable angled line that matches the staircase pitch — something it cannot do in self‑levelling mode.
With the pendulum locked, the L2G/L2R can project a stable angled line that matches the staircase pitch — something it cannot do in self‑levelling mode.
3. Set the Correct Pitch to Match the Staircase
To ensure the dado rail follows the exact rise of the stairs:
- Measure the required dado height at the bottom of the staircase
(e.g., 900 mm from the nose of the first step). - Measure the required dado height at the top of the staircase
(e.g., 900 mm from the landing floor level). - Use the TRI105 tilt head to adjust the laser until the projected line passes through both height marks.
Result:
The laser line now perfectly matches the true pitch of your staircase.
The laser line now perfectly matches the true pitch of your staircase.
4. Mark the Line Along the Staircase
- Once the laser line passes through both height marks, walk the staircase and lightly mark the line on the wall.
- This gives you a continuous, perfectly straight reference for fixing the dado rail.
5. Fix the Dado Rail
- Cut and prepare your dado rail sections.
- Offer each piece up to the marked line.
- Fix securely using adhesive and/or screws depending on wall type.
- Check alignment visually against the laser line as you go.
6. Final Checks
- Turn the laser back on to confirm the dado rail sits exactly on the projected line.
- Make any small adjustments before final fixing or filling.
Why This Method Is So Accurate
- Beam Options:
- L2G = Green Beam (high visibility)
- L2R = Red Beam (same precision, lower cost)
- Accuracy: Both models deliver ±0.2 mm per metre
- Pendulum Lock: Enables angled projection for staircases
- TRI105 Tilt Head: Lets you dial in the exact pitch using just two height marks
- Laser Consistency: Produces a bright, crisp line that stays true over long distances
- Minimal Measuring: You only measure two points — the laser calculates the angle for you