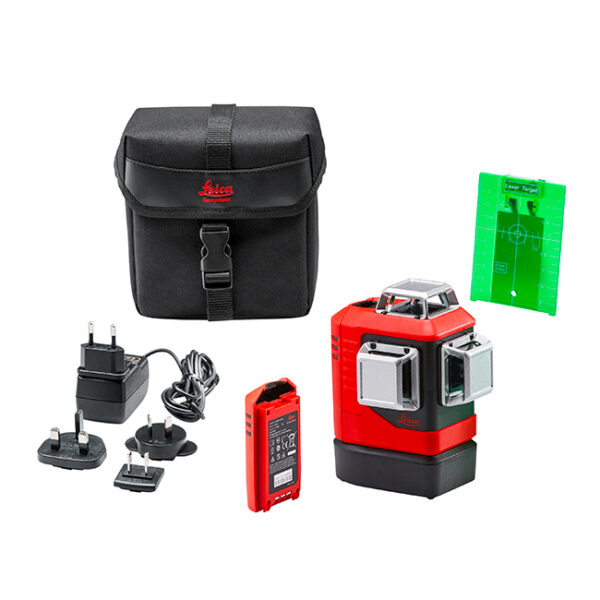
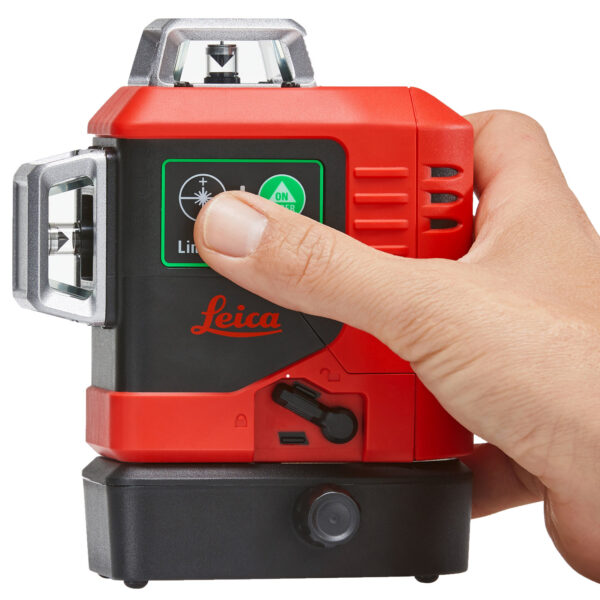
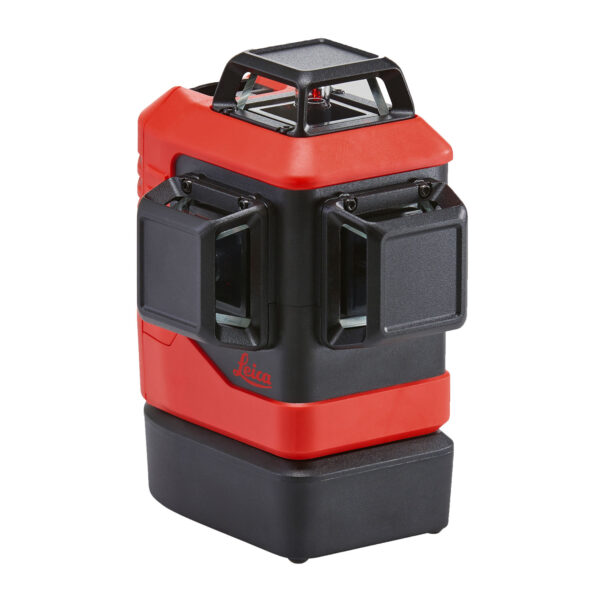
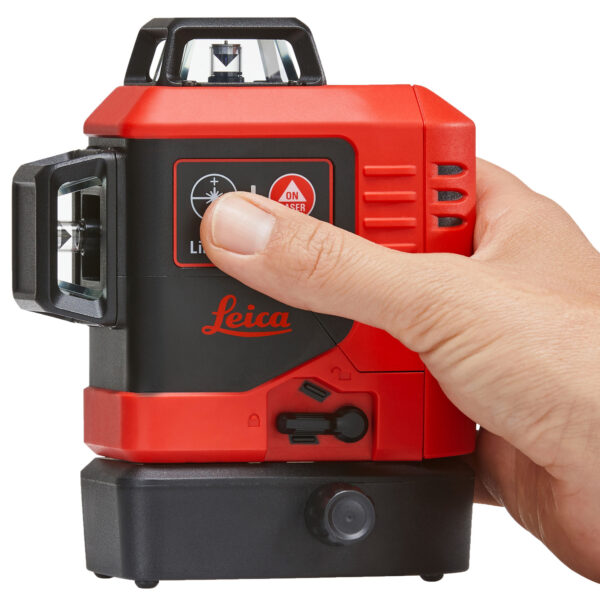
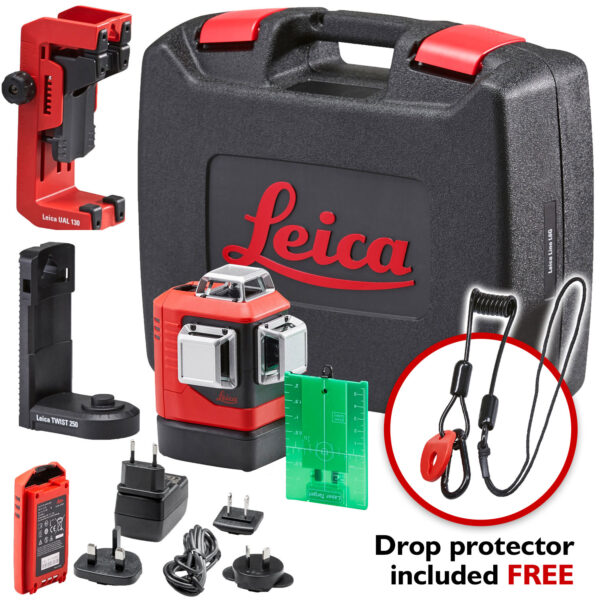
USER GUIDE – Align & Plumb Interior Walls Using a Leica L6G / L6R Multi‑Line 360° Laser

TIPS & TRICKS
Overview
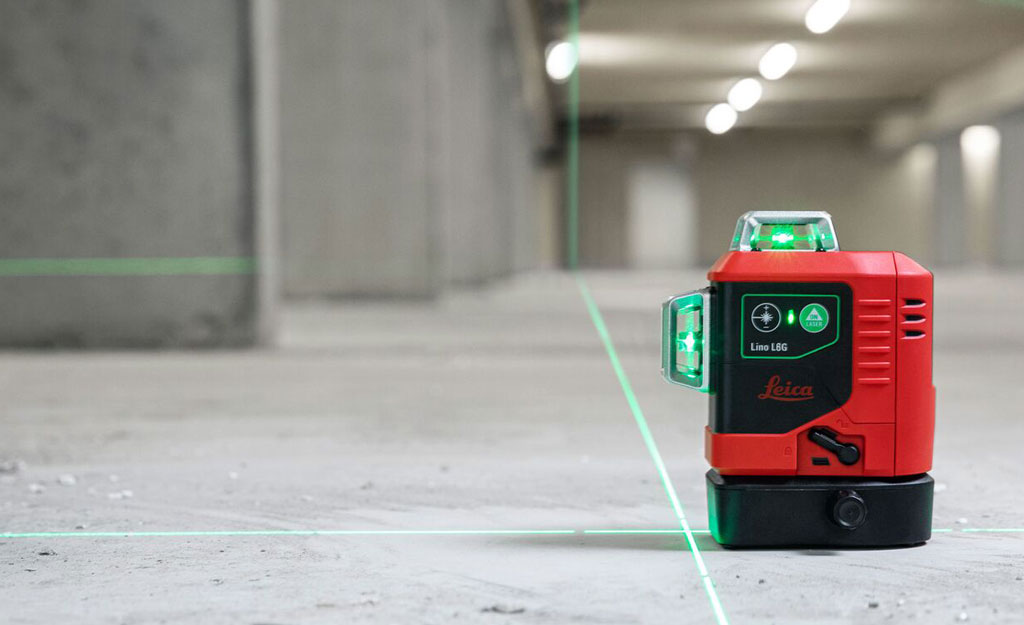
Using a Leica L6G or L6R makes setting out stud walls faster, more accurate, and completely repeatable. The laser provides two 360° vertical planes, one 360° horizontal plane, and a fixed plumb point with fine adjustment. Follow the steps below for a clean, professional setup.
1. Set Up the Laser on Your Reference Point
- Position the laser roughly where the wall will be built.
- Release the pendulum lock so the laser self‑levels and the vertical lines become true plumb.
- Switch on the two vertical 360° lines.
Purpose:
Releasing the pendulum lock allows the laser to project a perfectly vertical plumb line between the cross reference on the floor and the ceiling.
Releasing the pendulum lock allows the laser to project a perfectly vertical plumb line between the cross reference on the floor and the ceiling.
2. Place the Plumb Point on the Start of the Wall
- Look at the floor plumb point created by the crossing vertical lines.
- Move the laser until this point sits exactly on your wall’s starting mark.
- Use the fine adjustment knob to rotate the vertical line without shifting the plumb point.
Purpose:
You can line up the wall precisely without physically moving the laser.
You can line up the wall precisely without physically moving the laser.
3. Align the Wall Line on Floor and Ceiling
- Follow the vertical line along the floor to mark the wall’s path.
- Look up — the same line appears on the ceiling, giving you a perfect plumb transfer.
Purpose:
Your floor and ceiling tracks are now perfectly aligned.
Your floor and ceiling tracks are now perfectly aligned.
4. Fix the Floor and Ceiling Tracks (Stud Partition)
- Lay the floor track so the laser line runs through its centre and fix it in place.
- Install the ceiling track directly above the floor track, following the same vertical laser line.
- Depending on the type of stud partition (single frame, double frame, acoustic, fire-rated, MF ceiling interface), ensure the correct track profile and spacing are used.
Purpose:
This ensures the stud partition is straight, square, and plumb from top to bottom, regardless of the partition system being installed.
This ensures the stud partition is straight, square, and plumb from top to bottom, regardless of the partition system being installed.
5. Install Studs Using the Vertical Laser Plane
- Mark stud centres (400 mm or 600 mm).
- Stand each stud in place and rotate it until the front edge sits exactly on the vertical laser line.
- Fix the stud once the entire edge is lit by the beam.
Purpose:
Guarantees every stud is straight and plumb.
Guarantees every stud is straight and plumb.
6. Build Intersecting or 90° Walls
- Switch on the second vertical 360° line.
- Use the plumb point again as the intersection.
- Rotate the second plane using the fine adjuster to create a perfect 90° wall.
Purpose:
Ideal for L‑shaped rooms, corridors, and partition returns.
Ideal for L‑shaped rooms, corridors, and partition returns.
6. Grade / Slope Mode (Optional but Ideal for Drainage)
If you regularly set drainage falls (e.g., 1:40 or 2.5%), choose a laser with grade capability.
Why It Matters
- Lets you dial in a precise slope
- Ensures consistent fall over long distances
- Saves time compared to manual drop calculations
Cheap lasers rarely offer true grade mode — only manual tilt, which is inaccurate.
7. Final Checks Before Boarding
Switch on the horizontal 360° line to verify:
- Head plate height
- Window and door openings
- Socket and switch heights
- Service runs
Purpose:
Ensures everything is level and consistent before plasterboard goes on.
Ensures everything is level and consistent before plasterboard goes on.
Why the L6G / L6R Is Ideal for Partition Work
- Three 360° planes cover the entire room
- Fine adjustment knob rotates lines around a fixed plumb point
- High accuracy (±0.2 mm/m)
- Bright green (L6G) or red (L6R) lines
- Magnetic adapters for metal studs and door frames