USER GUIDE – USING THE LEICA L6G MULTI‑LINE LASER & LEICA DISTO TO BUILD STUD PARTITION WALLS

TIPS & TRICKS
Overview
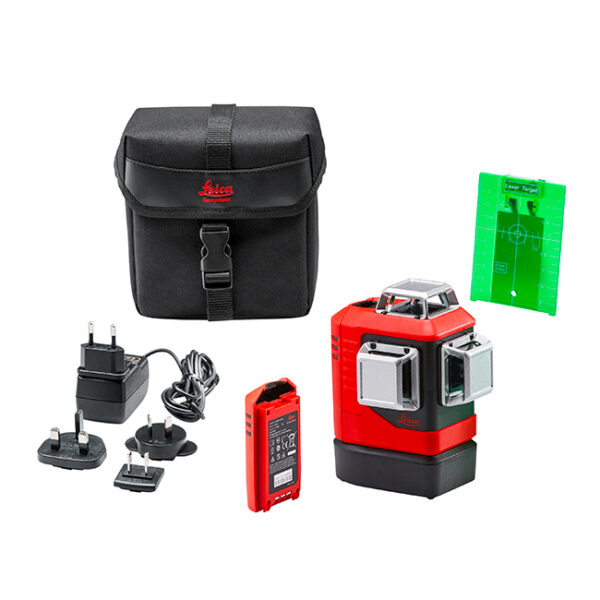
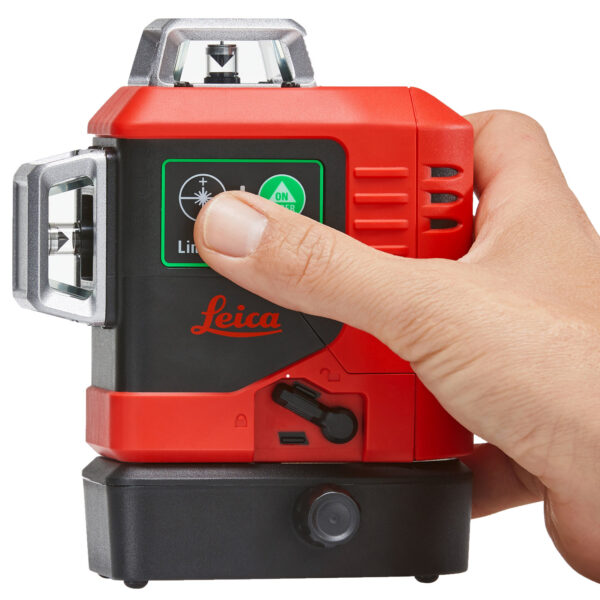
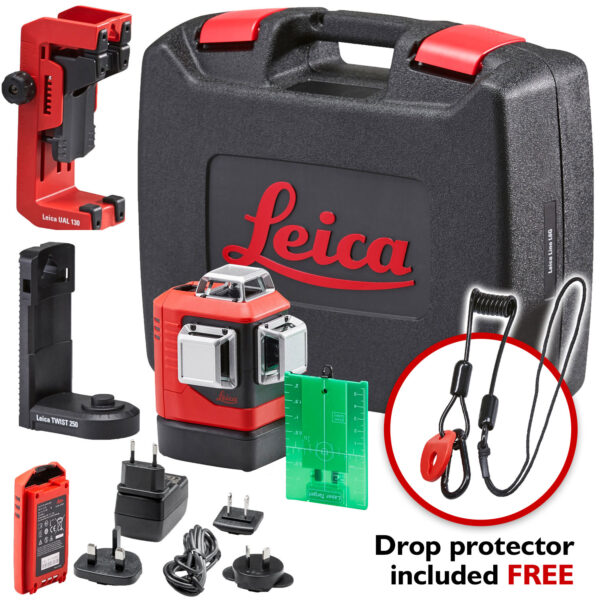
The Leica Lino L6G Multi‑Line Laser provides ultra‑bright green horizontal and vertical lines, full‑room coverage, and a fine‑adjustment alignment knob for precise squaring. A Leica DISTO provides fast, accurate measurements for room sizes, wall lengths, door openings, and stud spacing. Used together, they allow you to divide a large open space into multiple rooms with exceptional accuracy and speed.
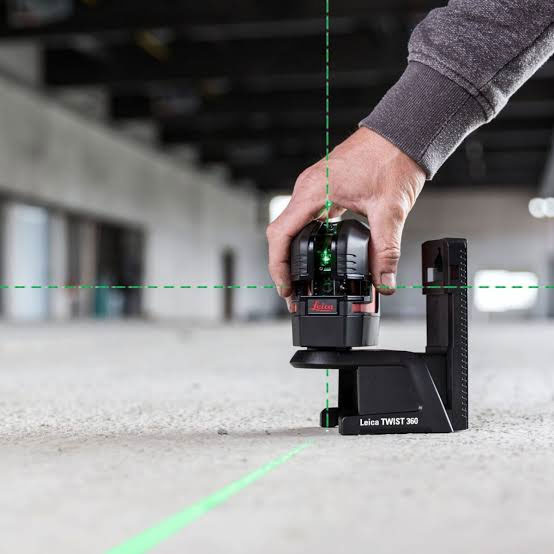
Using the Leica L2P5 / L2P5G and Leica DISTO X1
1. Establish Your Main Reference Line
2. Measure Room Sizes with the Leica DISTO
3. Transfer Measurements to the Floor
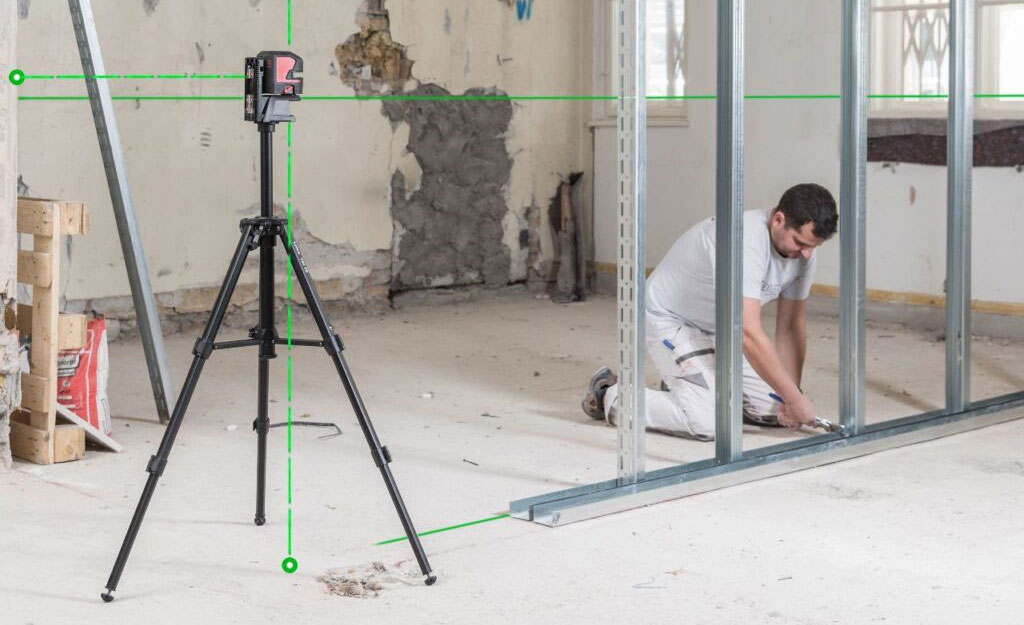
4. Project the Wall Line Upwards
- With the vertical line aligned to your floor marks, the L6G projects the wall line across the floor, up the wall, and across the ceiling
- This gives a full 360° reference for track and stud placement
5. Fix the Floor and Ceiling Track
- Position the floor track so the laser line runs through its centre
- Fix the track to the floor
- Move to the ceiling and fix the ceiling track directly above using the same laser line
- The L6G’s fine‑adjustment ensures the top and bottom tracks are perfectly plumb
6. Install Vertical Studs
- Use the DISTO to measure stud spacing
- Mark spacing on the floor track
- Use the L6G’s vertical lines to keep each stud plumb
- Fix studs securely into place
7. Create Door Openings and Intersections
8. Check Room Dimensions Before Boarding
- Use the DISTO to confirm room widths, corridor widths, and door openings
- Use the Pythagoras function to check squareness of corners
- Make adjustments before plasterboard goes on
9. Final Alignment Before Boarding
- Switch on the horizontal line to check head plates, window openings, socket heights, and service runs
- Make final adjustments before boarding.