





USER GUIDE – Using a Cross Line Laser to Hang Pictures**

TIPS & TRICKS
Simple steps for perfectly aligned pictures:
1. Position Your Laser
2. Set Your Height
3. Mark Your Fixing Point
- Hold the frame against the wall so the top touches the laser line
- Measure from the top of the frame down to the hanging bracket
- Transfer that measurement below the laser line and mark lightly with a pencil.
4. Drill or Fix
- Drill or hammer your fixing at the pencil mark
- Keep the laser on to double‑check alignment.
5. Hang & Check
- Hang the picture and check the top edge against the laser line
- Adjust slightly if needed
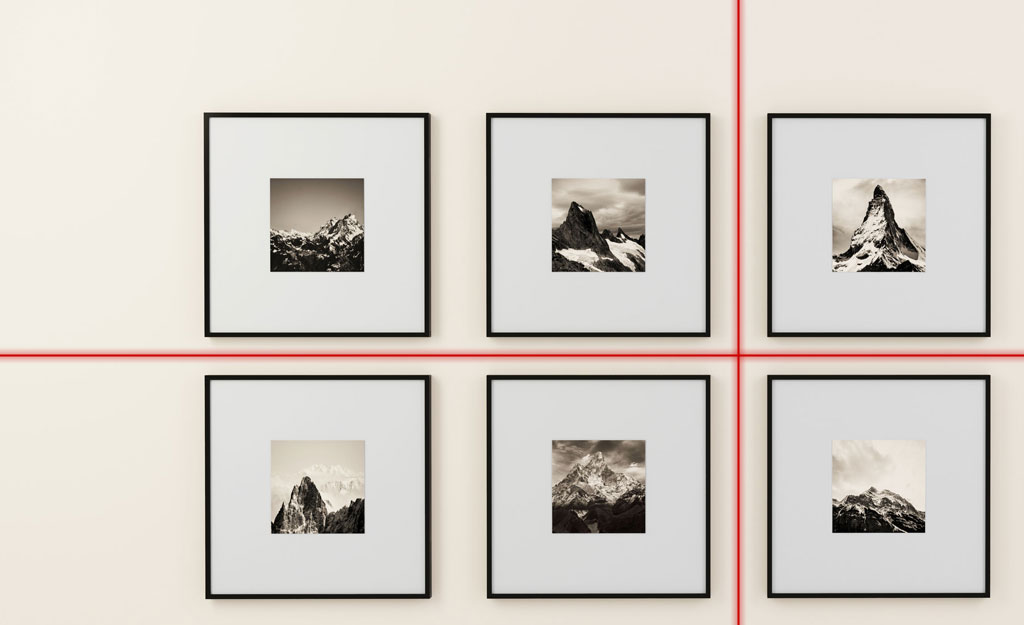
For Multiple Pictures
- Think about where you place your laser to be able to project the line across the whole wall
- Use the same horizontal line for perfect alignment
- Use the vertical line to keep columns straight, if you want to create a grid pattern
Quick Tips
- Flashing lines = usually means the laser is out of level
- Dim the room (Close blinds or curtains) if the line looks faint
- Buy some laser enhancement glasses. RED for Red Laser or GREEN for Green Lasers
Additional Language Support
Now available in Russian.
Suitable lasers for this project:
Align Pictures with the Laserliner SmartCross-Laser GX
This cross-line laser projects a highly visible green laser cross for precise horizontal and vertical alignment of objects. It also offers a manual slope function for easy creation of gradients and a 1/4” thread for mounting on a tripod. The laser can also be used for outdoor applications and alignment work at long distances with the integrated hand-held receiver mode. The housing of the laser is made from a large proportion of recycled plastic and makes a valuable contribution to sustainability.


